Executing the installation
ATTENTION
If you use an internal registry, refer to our internal registry usage guide to continue the installation process.
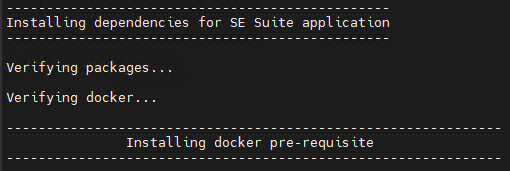
- Run the sesuite.sh script to install Docker.
sudo bash /sesuite/sesuite.sh
At this point, the dependencies will be verified, and Docker will be installed in your environment, as shown in the image below.
After the dependencies and Docker are installed, the screen will be shown as follows:
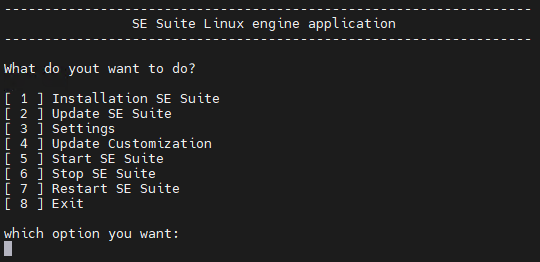
- Select option [1] Installation SE Suite option to continue installing
SoftExpert Suite.
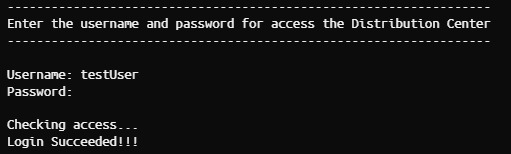
In this next step, you will be asked to enter your access data on the SoftExpert Distribution Center platform; enter your username and password in the steps below:
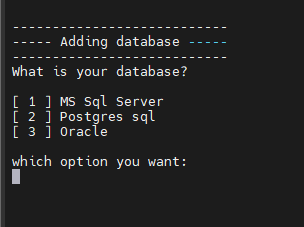
Then, the database connection configurations will be added:
- Enter the database connection data in accordance with your
configuration. Example:
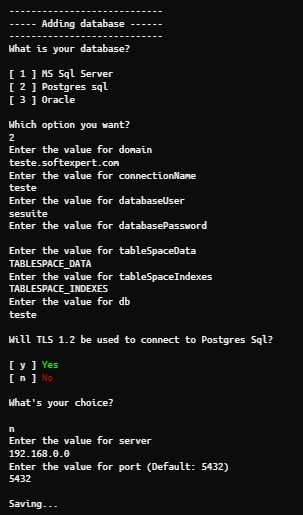
- In this step, select one of the 3 available databases, by entering
its corresponding number (1, 2 or 3).
What is your database? [1-sqlserver 2-postgresql 3-oracle]:
Now, you must provide the full name of the URL, which can be a DNS domain or a DNS subdomain, to access SoftExpert Suite. The URL can be private (for internal access only) or public, containing a TLD (Top Level domain). The defined URL must be in lowercase letters.
Enter the value for domain:
In this field, enter an internal name to reference this connection (just a name for reference).
Enter the value for connectionName:
Enter here the database access user's name.
Enter the value for databaseUser:
Enter here the database access user's password.
Enter the value for databasePassword:
[For connections to the Oracle database only] Enter the tnsnames.ora content.
Example tnsnames.ora: BASE =
(DESCRIPTION=(ADDRESS=(PROTOCOL=TCP)(HOST=host)(PORT=port))(CONNECT_DATA=(SERVER=DEDICATED)(SERVICE_NAME=SERVICE_NAME)))
Enter the value for tnsnames.ora:
[For connections to the PostgreSQL or Oracle database only] Enter the Data Tablespace name.
Enter the value for tableSpaceData:
[For connections to the PostgreSQL or Oracle database only] Enter the Indexes Tablespace name.
Enter the value for tableSpaceIndexes:
[For connections to the Oracle database only] Enter the TNS content.
Enter the value for tns:
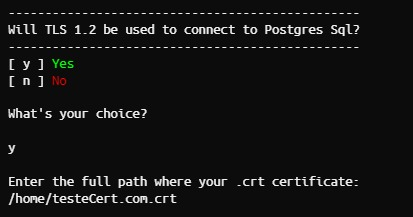
[For connections to the SQL Server database only] If a TLS connection between SoftExpert Suite and the database is used, write y; otherwise, n.
Will TLS 1.2 be used to connect to SQL Server? (y/n):
[For connections to the SQL Server database only] If a connection with named instance is used, enter the instance name below. If a named instance is not used, just leave the field blank and press Enter.
Enter the value for instance:
In this step, enter the database address, which may be an IP or a DNS address, depending on the local configuration that is available.
Enter the value for server:
Enter here the name of the database that SoftExpert Suite will use.
Enter the value for db:
In this step, enter the database port number; if the default entered is the right one, just press Enter.
For the SQL Server database, the default is 1433; for PostgreSQL, it is 5432, and Oracle uses 1521.
Enter the value for port (If not provided the default values will be used: 1433|5432|1521):
After the previous steps are successfully finished, the following message will be displayed:
Database successfully added
- If you want to configure a TLS certificate, select Y and enter the path
of the certificate configured in the database.
Example:
- Enter the time zone you want to use. You can check the time zone
at: https://timezonedb.com/time-zones
Example:


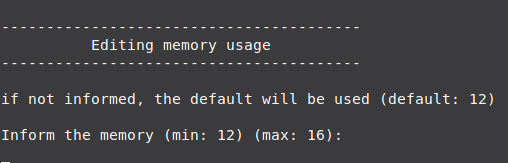
- After setting the time zone, enter how much memory will be used by the
application. The minimum required is 12; if you want to use the minimum, just press Enter.
Example:
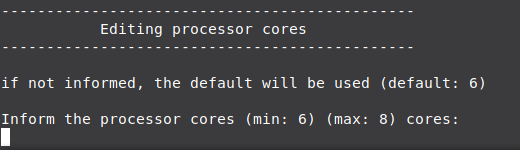
- Enter the number of cores that you want to use in the application. The minimum
required is 6; if you want to use the minimum, just press Enter.
Example:
- Now, you will be asked which SoftExpert Suite version you want to
install. The latest available version will appear between brackets, but a different one can be specified, if you want. If an invalid or unavailable version is entered, the question will be asked again.