Authentication in Okta via SAML 2.0
SoftExpert Suite is compatible with single sign-on using the Okta application. Okta is a platform that facilitates the authentication of users in order for them to access SoftExpert Suite, which makes the login process faster.
To start the configuration, you need to have an Okta account. Follow the steps below to configure authentication:
- Access Okta Preview using your properly configured account.
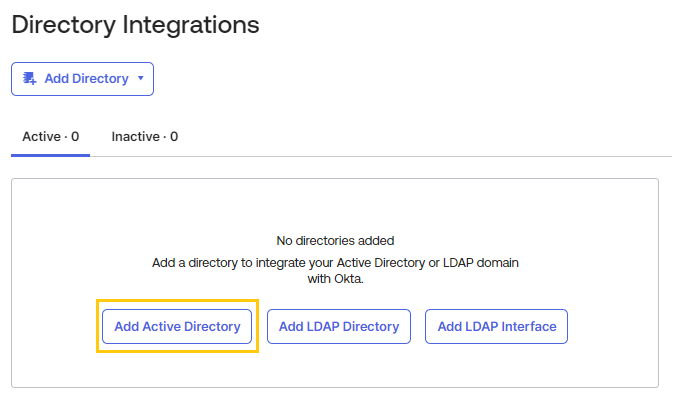
- From the side menu, select "Directory", and then**"Directory integrations"**.
- Click on "Add Directory" and choose**"Add Active Directory"**.
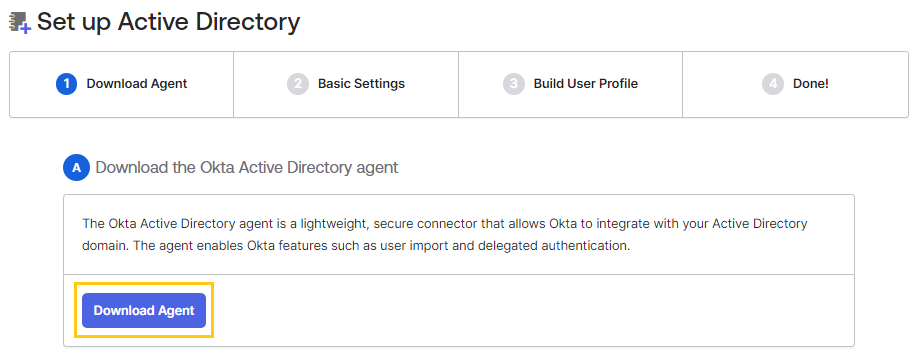
- Download the agent by clicking on the "Download Agent" button. The downloaded agent must be installed on the AD server so that it can communicate with Okta. During installation, you will need to authenticate yourself to Okta within the AD server where the agent is being installed.
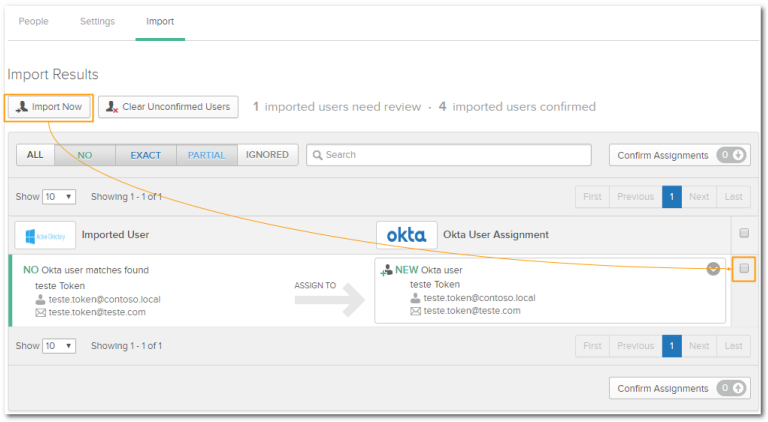
- Import the users into the Okta platform and confirm which of them will have access to single sign-on via Okta.
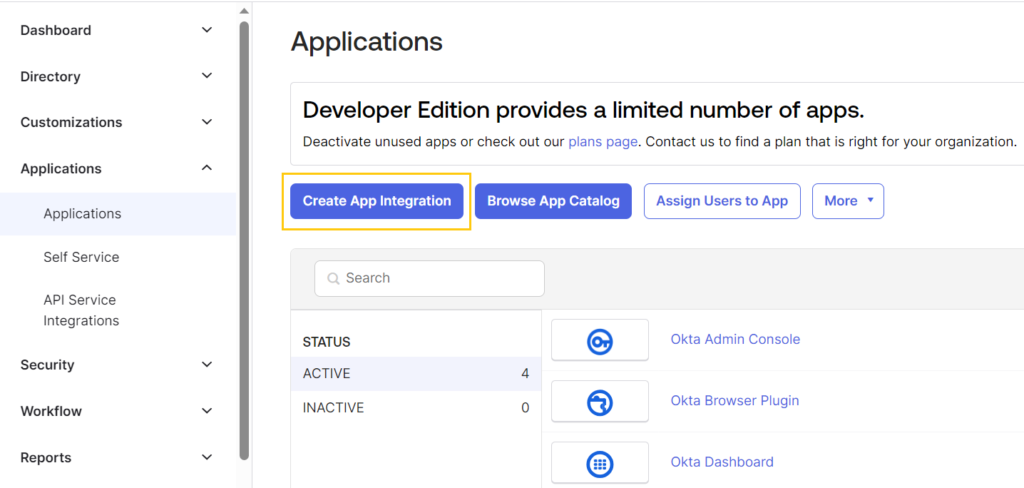
- After configuring Active Directory in Okta and AD, configure the application that will log in to SoftExpert Suite. To do this, access the "Applications" option and click on "Applications".
- Click on "Create App Integration" to create a SAML application to authenticate with SoftExpert Suite.
- Then, click on the "Create new app" button.
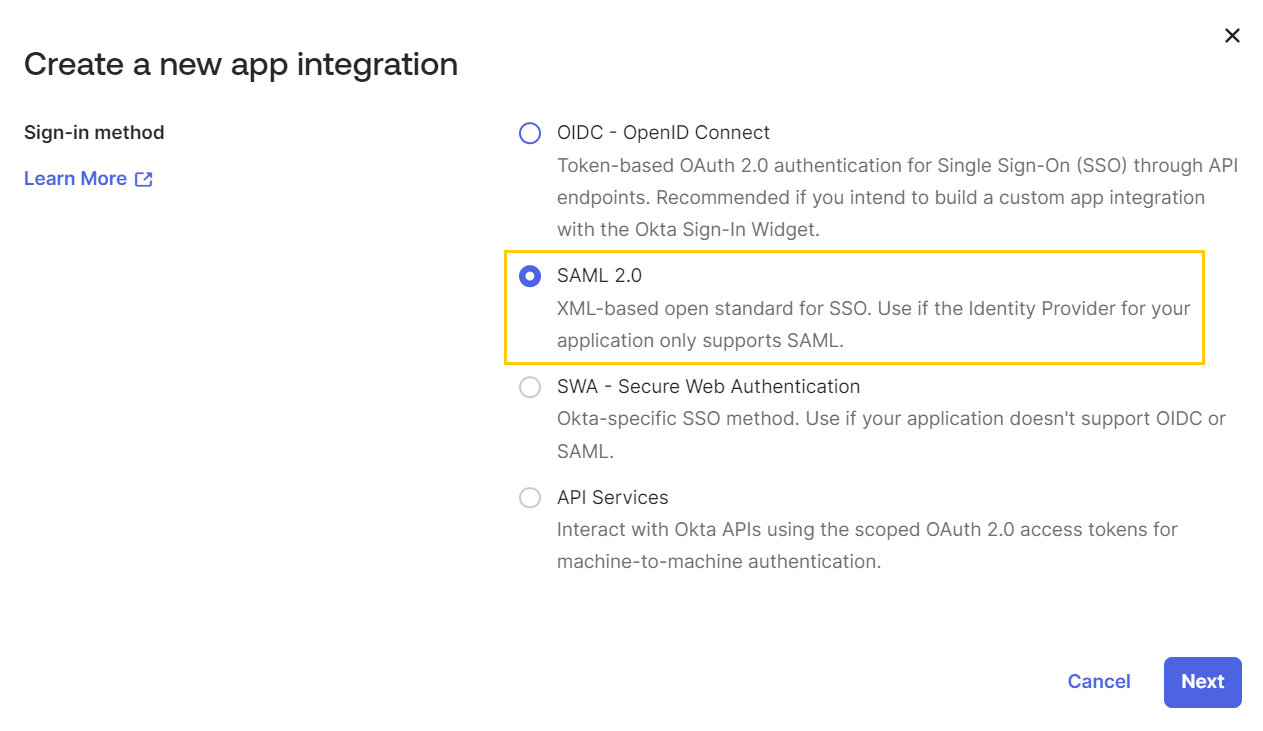
- A new screen will be displayed; use it to select the type of application that will be created. Choose the SAML 2.0 option and click on "Next".
- Now, you must set the configurations so that the application being created can communicate with SoftExpert Suite. These configurations are highly important! Follow the steps below:
- First, enter the URL through which Okta will return data to SoftExpert Suite. Enter the SoftExpert Suite access URL in the following pattern:
"https://YOUR_DOMAIN/softexpert/saml"
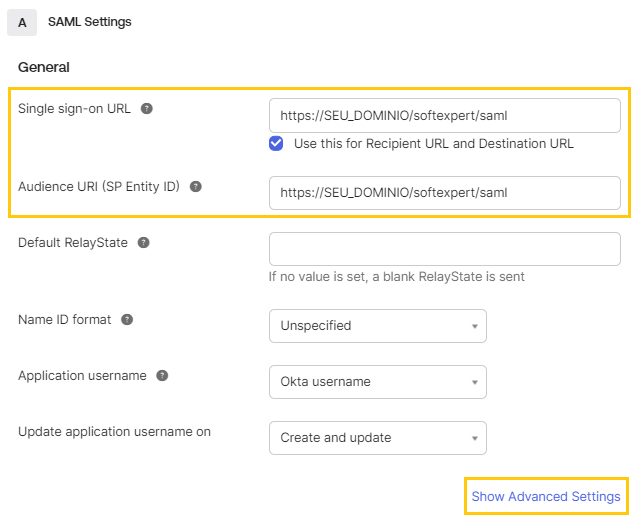
- After filling in the required fields, click on "Show Advanced Settings".
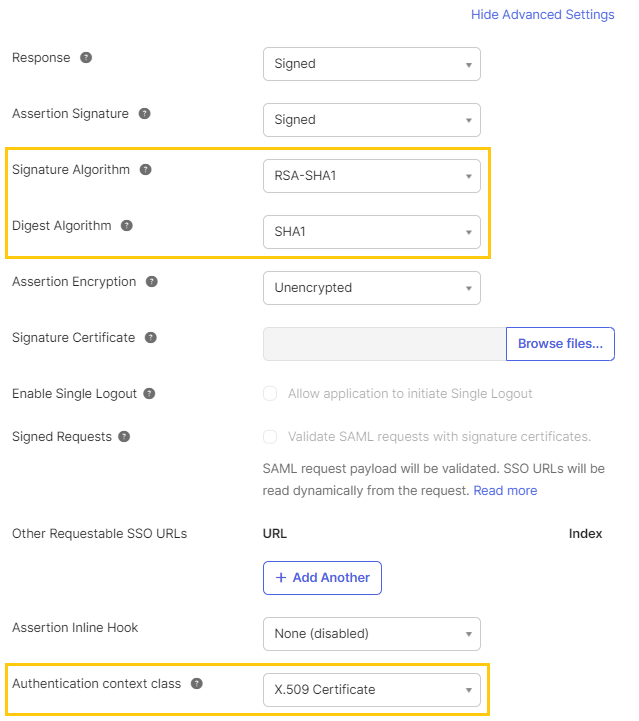
- On the screen that will be displayed, the fields must be filled in according to the following image; the example shown is the type of signature supported by SoftExpert Suite:
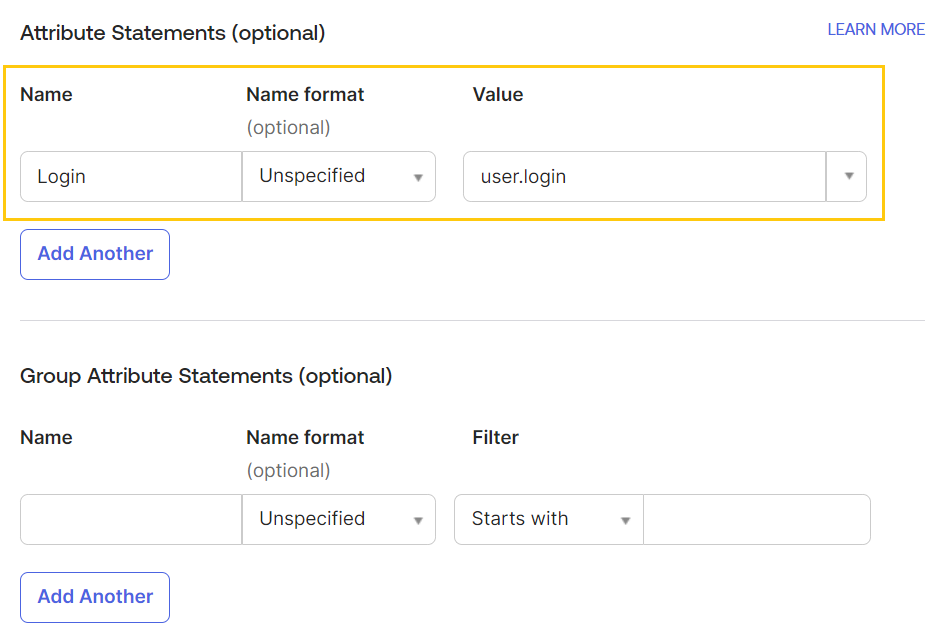
- Just below, in the "Attributes Statements (Optional)" section, the fields must be filled in as shown in the following image:
- Once done, click on "Next".
- On the next screen, click on "Finish".
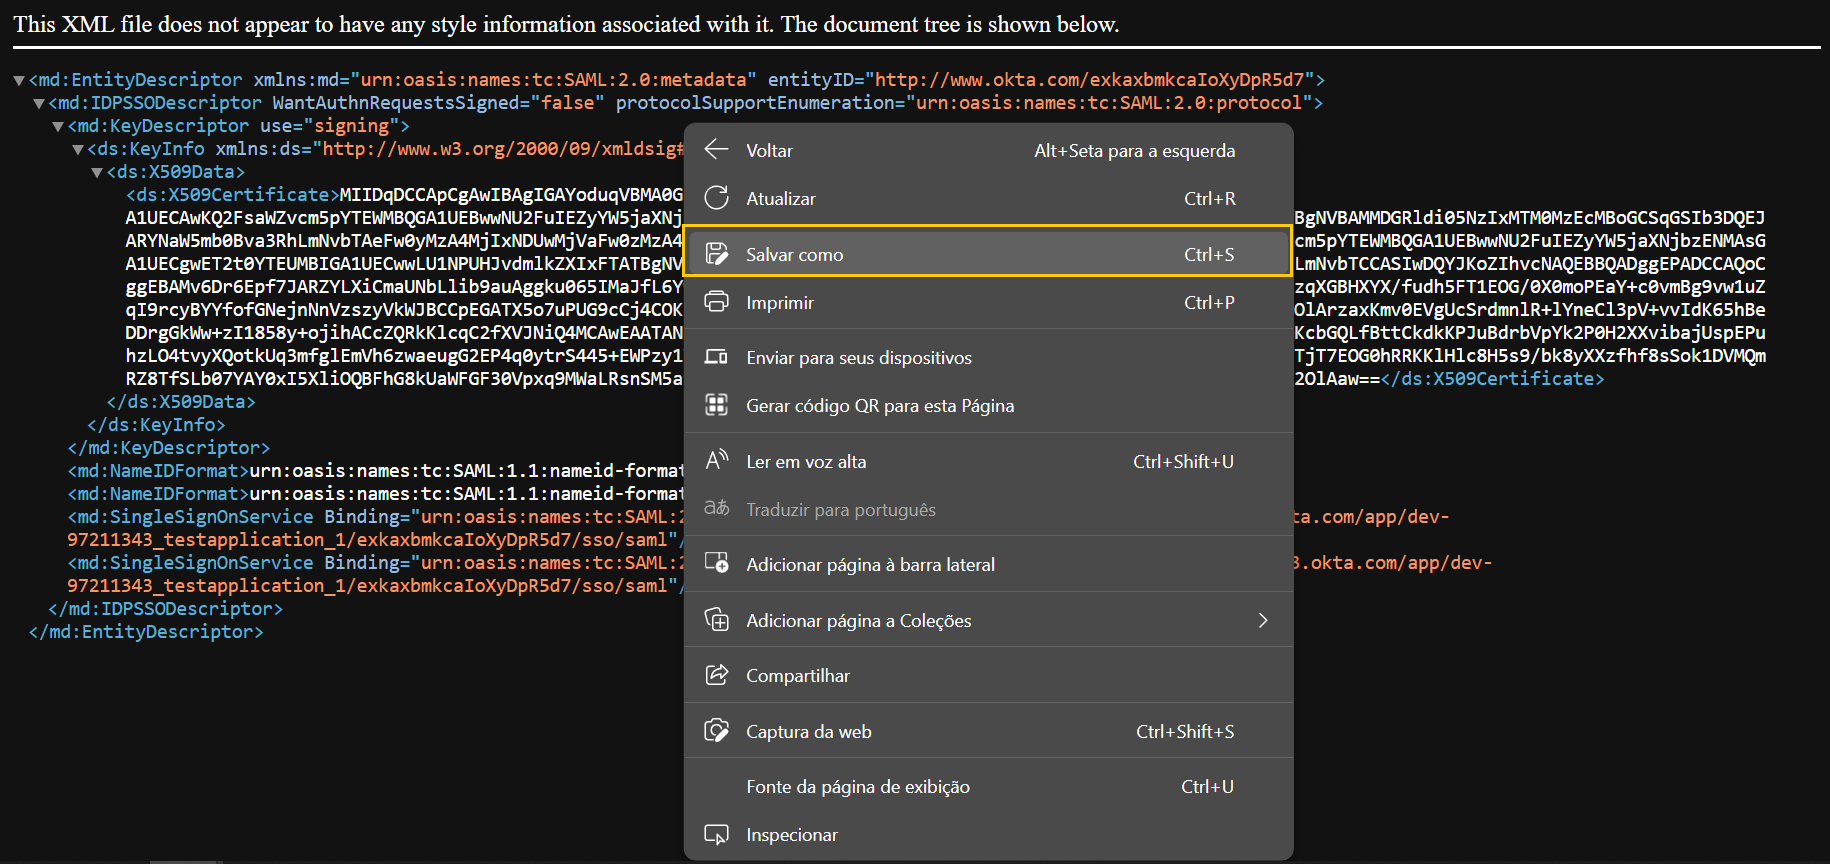
- Now, on the next configuration screen that will be displayed, copy the link "Metadata URL".

- Open the copied link in another window and right-click anywhere on the screen. Click on "Save as" and select the ".xml" format.
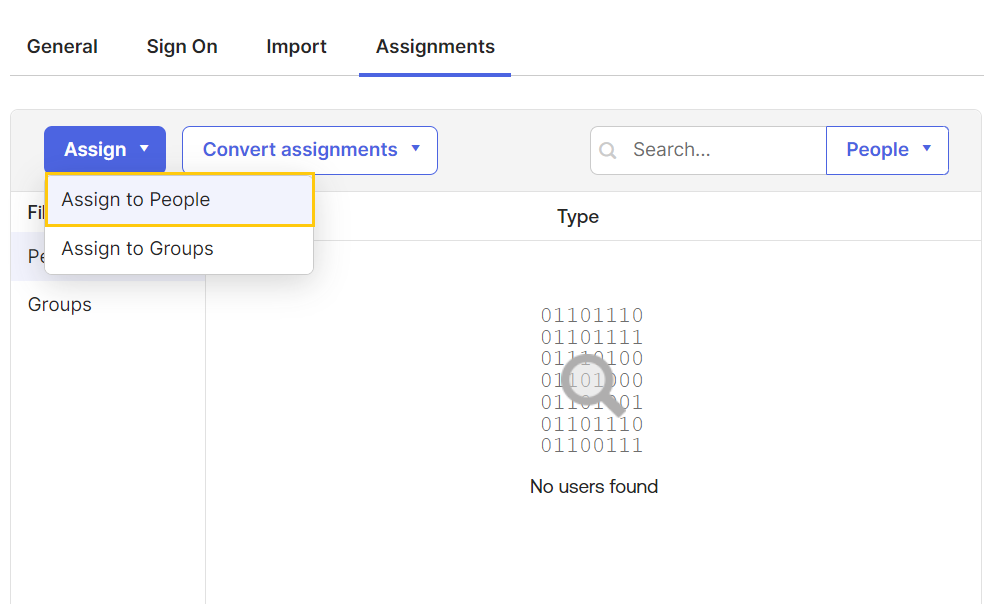
- Before a user can access SoftExpert Suite, they need to be associated with Okta. Go to the "Assignments" option and click on "Assign" > "Assign to People".
- On the screen that will open, locate the desired user and click on the "Assign" button.
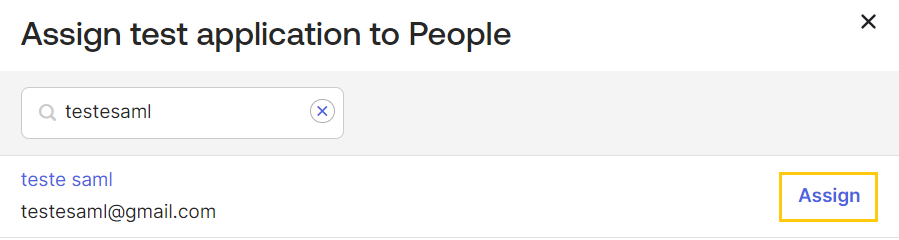
- Then, enter the user's login to SoftExpert Suite, for example:
john.leader@contoso.local
and click on "Save and Go Back".
- The users who will have access to SoftExpert Suite will be listed on the "Assignments" screen.
- Next, you must set up Okta to allow external users to access the system.
- First, go to the Okta home screen and click on the "Directory" > "Profile Editor" menu.
- Select the "User (default)" user.

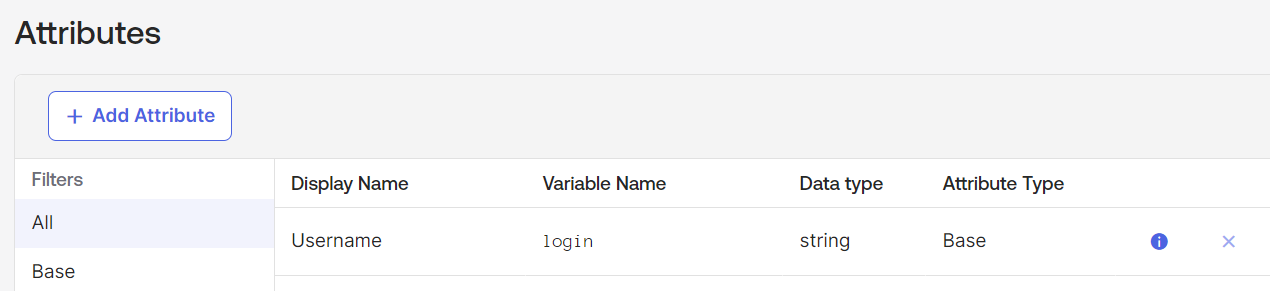
- Another screen will open, displaying a list of attributes
- In the "Username" attribute, click on the blue exclamation mark icon.
- In "Format restrictions", select "None"
- Now, access SoftExpert Suite, go to the Configuration component > Authentication (CM008), "SAML 2.0 Authentication Services" section, and add a new configuration. On the screen that will be displayed, enter a name to identify the configuration, upload the "metadata.xml" file obtained from the Okta application, enter the number of years for which the certificate is valid, and click on "Renew certificate". In the "Credential ID" field, enter the "Login" value (the field must be filled in; otherwise, it will not be possible to find the user's login), as previously configured in Okta.
- To finish, still in CM008, go to the “Directory Integration > General options” menu, select the “Enable integrated authentication for users that are not synchronized” option, and save the settings.
- After carrying out all the necessary configurations, it is important to test the single sign-on via Okta. To do this, log in to SoftExpert Suite by clicking on the "Single Sign-On" option, on the login screen.
Make sure you follow all the steps correctly and set the configurations in accordance with the specific settings of your environment.
caution
⚠️ Attention:
- In order to access the system, external users must be registered through an e-mail in the "Username" field.
- The steps provided are a configuration overview and may vary depending on the Okta version and the specific settings of your environment. It is recommended that you consult the official Okta documentation for detailed and up-to-date instructions on how to configure authentication via SAML 2.0.